BUILD A RAID-1 MIRROR ARRAY ON ADAPTEC 1430SA AFTER AN OPERATING SYSTEM IS INSTALLED
Reprinted with permission from an article dated October 7, 2014 by Frank on Sheldon's Blog.com https://www.sheldonsblog.com/build-a-raid-1-mirror-array-on-adaptec-1430sa-after-an-operating-system-is-installed/
This procedures in this article show how to:
1. Build a Raid-1 Array on an Adaptec 1430SA RAID controller from a disk that already contains an operating system;
2. Rebuild a Raid-1 Array on an Adaptec 1430SA RAID controller from a degraded Raid-1 Array already containing an operating system; and
3. Clone a disk having an existing operating system, and/or existing Raid-1 mirror (whether or not the original array is degraded), onto a larger capacity set of hard drives and build (or rebuild) a Raid-1 Mirror Array on an Adaptec 1430SA Raid controller.
On the 1430SA Adaptec card, you may install an operating system on a preconfigured RAID-1 Array; or, you may use the “build” method to create or rebuild a RAID-1 Array from a non-RAID disk drive containing an existing operating system (or data) or from drives containing an exiting RAID-1 Mirror and existing operating system (or data), or from the remaining drive in a degraded RAID-1 Array.
If you have an existing RAID-1 mirror (whether or not it is degraded), install a product like Macrium Refect in order to make a good backup image of existing partitions. Use an external USB drive of caddy as the target of the Drive and Partition Image. Follow the instructions set forth in this article: https://www.sheldonsblog.com/rebuild-a-degraded-raid-1-array-on-adaptec-1430sa-controller/. After you have a good image backup, now use the same software to clone the partitions onto a new larger capacity drive (expanding the operating system partition on the new blank drive), and then create a new RAID Mirror Array using the newly cloned drive as the Mirror “Source” drive and another identical blank drive as the Mirror “Target” drive. How? See the same article: https://www.sheldonsblog.com/rebuild-a-degraded-raid-1-array-on-adaptec-1430sa-controller/.
You can build a Raid-1 Array from an non-Raid drive having an existing operating system by adding a brand new unused second drive of the same size or capacity, or cloning the existing partitions and O/S onto a larger capacity drive and then adding a second same new same capacity drive and building the Raid-1 Array.
After you have one drive, existing or expanded after cloning, you must ensure that that the Adaptec 1430SA Raid drivers are installed in the existing operating system so that the drive (and the new array you will create) will boot from the Adaptec 1430SA controller.
If you already installed an Array that has been running from the Adaptec 1430SA controller, even if the Array is degraded because 1 drive has dropped or failed on the existing array, then you know that the Adaptec controller drivers are already installed. Test whether the remaining drive on a degraded Array will boot by removing the failed drive and booting the system from the remaining drive on the Adaptec controller.
If you don’t have an existing Raid Array, then you will need to install the Adaptec 1430SA controller in the PC or server, then install the hard drive with existing operating system onto a non-Raid SATA port on the motherboard. Boot the operating system, download the latest Adaptec Raid Drives for your OS and 32-bit or 64-bit architecture, and install those drivers. Shut the system down. Install the same disk drive on port 0 of the Adaptec 1430SA Raid Controller card, and reboot the system from this single drive to ensure that the drive will boot from the newly installed controller card with controller card drivers now installed in the OS. Hint: To find port 0, locate the set of two ports on the lower position of the back edge of the card (ie. The ports nearest the motherboard when installed). When the card is installed in the PCI-e slot, then Port 0 should be the port on the right side facing nearest to the bottom side of the tower case. Looking at the back edge of the controller card after it is intstalled, the 4 ports should be as follows:
[3] | [2]
[1] | [0]
SLOT
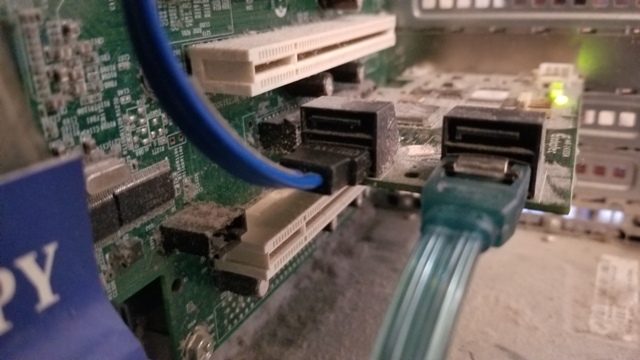
Install a brand new unused disk drive of identical size capacity or larger either on Port 1 or Port 2. I prefer port two directly above port 0. It is your choice. This will be the Target Drive of the Mirror. Then, follow the procedure to Build a RAID-1 Array.
After you have tested to ensure the first drive will boot when installed on the Adaptec card, and you have shut the system down and you have installed a second identical or larger capacity drive (as the target of the Mirror, then:
Boot the sytem and repeatedly press CTRL + A keys together to enter the Adaptec RAID Configuration Utility. This will load into the Adaptec Raid Controller’s Bios.
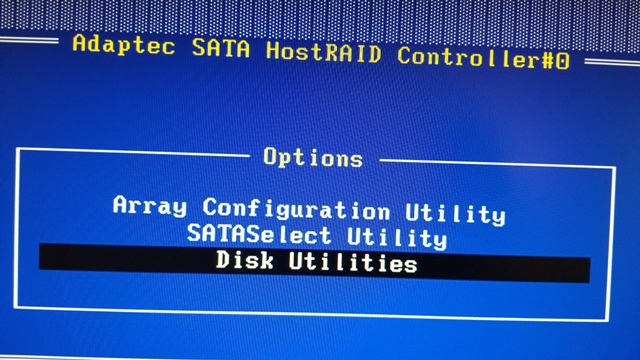
Select “Disk Utilities” from the Main Menu. While inside Disk Utilities, check that both of your hard drives are showing properly as SATA 3.0Gb/s. Then escape from Disk Utilities back to the Main Menu.
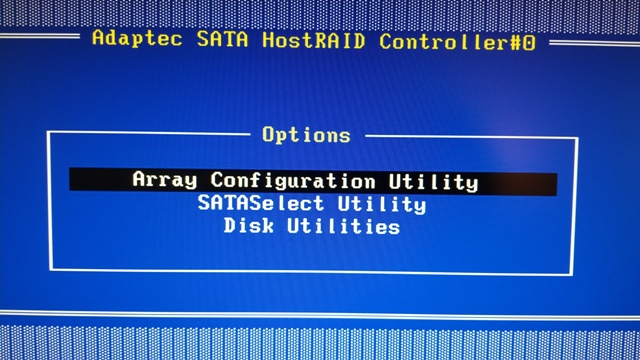
Select “Array Configuration Utilities” from the Main Menu,
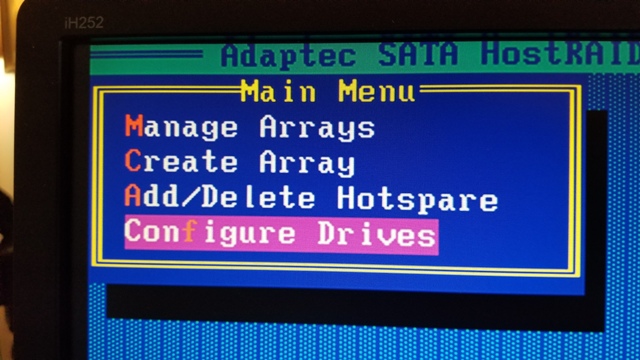
and then select Configure Drives.
Then you will see Select Drives For Configuration:
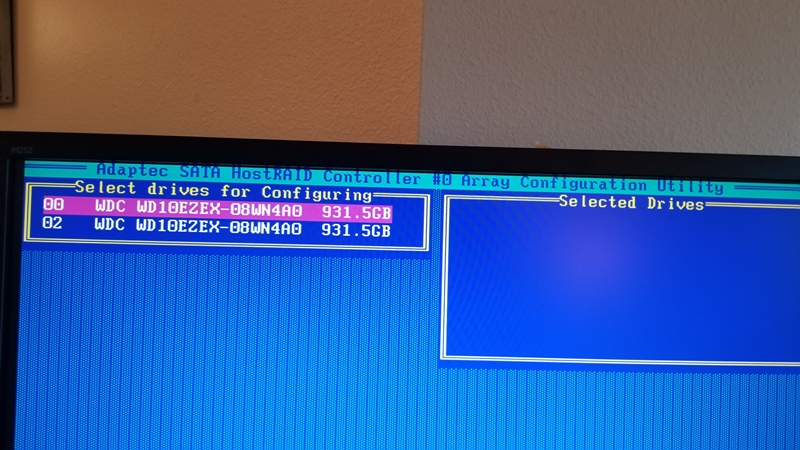
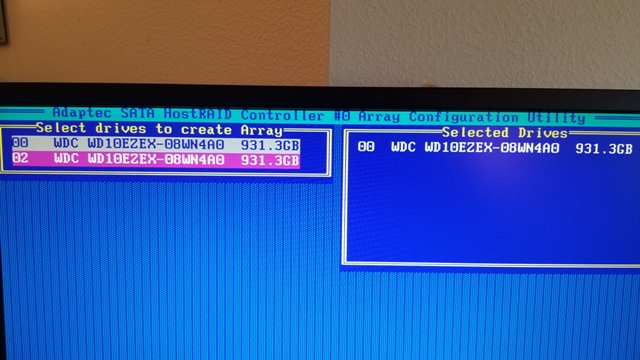
Press the space bar to select each drive on the left side of the screen to place each of them with the “Selected Drives” configuration on the right side of the screen.
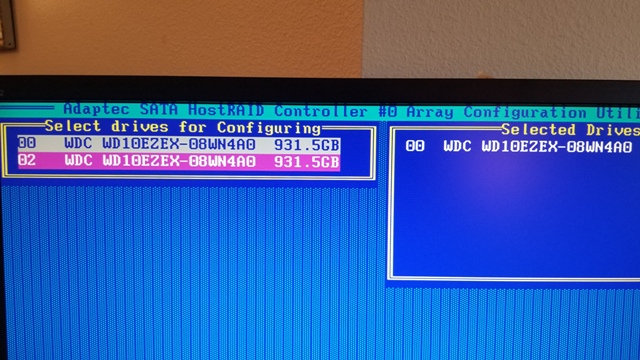
First press the spacebar to Select Drive 00 and place it on the right side under the Selected Drives configuration:
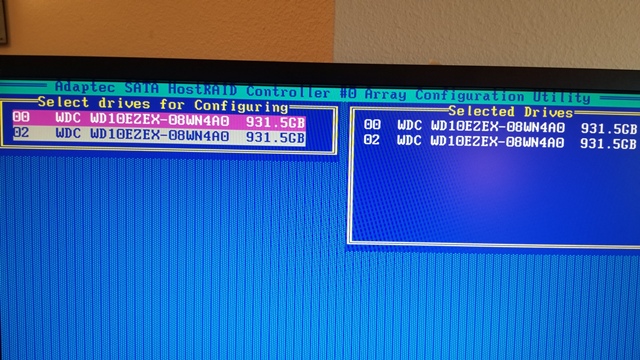
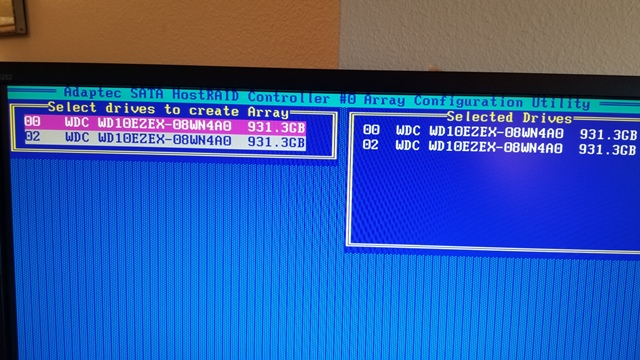
and then press the spacebar to Select Drive 02 and place it on the right side under the Selected Drives configuration, and ensure that both drives show as being selected drives on the right side of the screen.
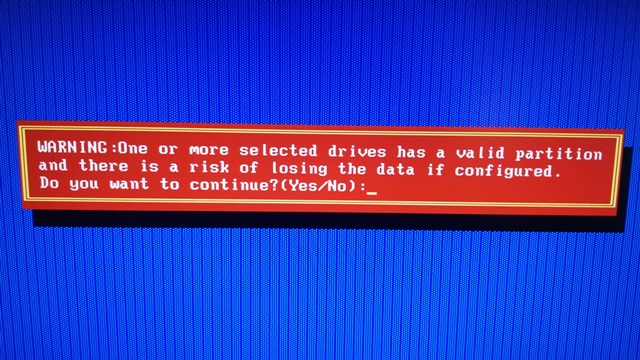
Press the Enter key. The Bios will warn you that one or more selected drives has a valid partition and that there is a risk of losing data if configured, and will ask “Do you want to continue? (Yes/No): Press the Y key for Yes.
The message “Configuring the drives . . .” will briefly flash on the screen before you are returned to the Main Menu.
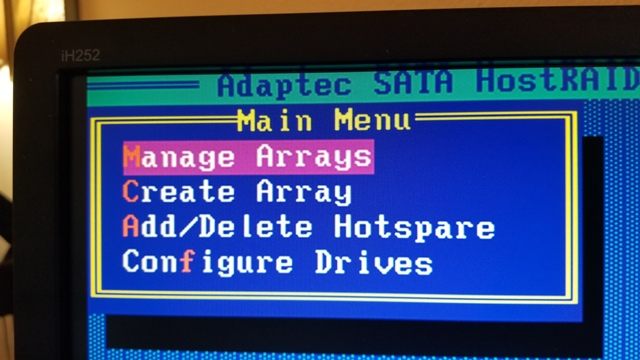
Select “Manage Arrays” from the Main Menu. ]
In the list of arrays, the two drives will each show as SIMPLE VOLUME, and the drive containing your operating system should be located on Port 0.
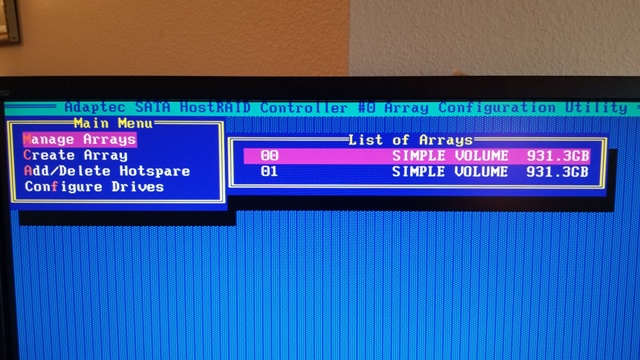
If everything is correct here, then escape to the Main Menu. [Caution: It is absolutely imperative that the source drive be located on Port 0 before you proceed to create the Array. Otherwise, your operating system and/or data and/or partitions will be lost.
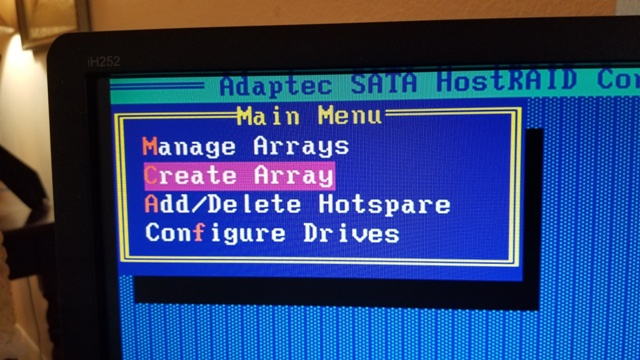
Select “Create Array” from the Main Menu.
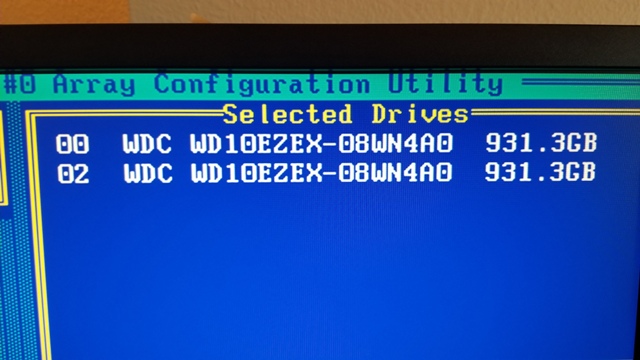
Next, press the space-bar on each of the drives in turn (on port 00 and then on port 01 or 02 as the case may be),
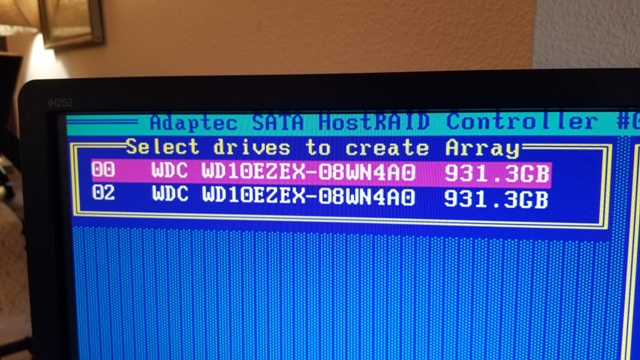
so that both of the drives show in the top right side of the screen under “Selected Drives.”
Then, press the ENTER key.
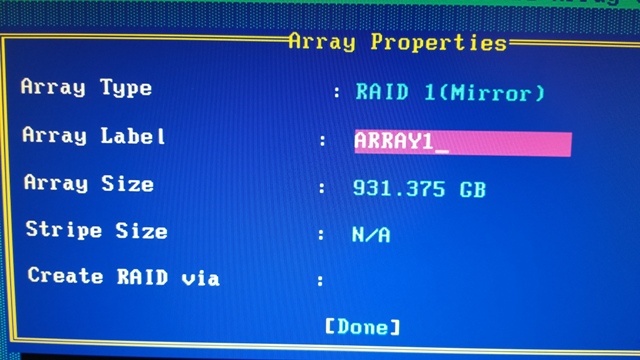
You will then arrive the “Array Properties” Screen. Select “RAID 1” as the type of RAID you want to use and press the Enter key.
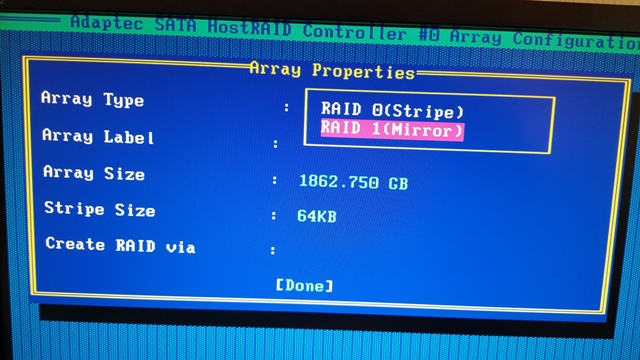
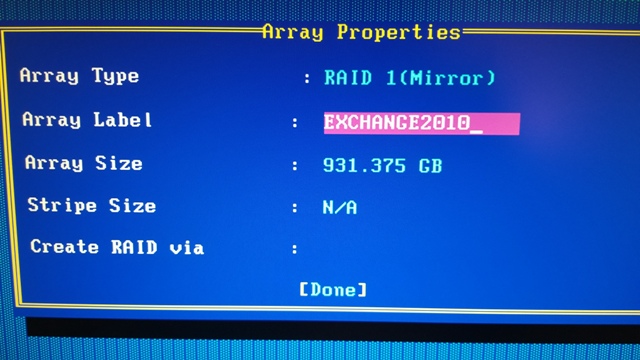
Next type in the RAID Array Label (Array Name) that you want to use, such as ARRAY1 or EXCHANGE2010 and press the Enter key.
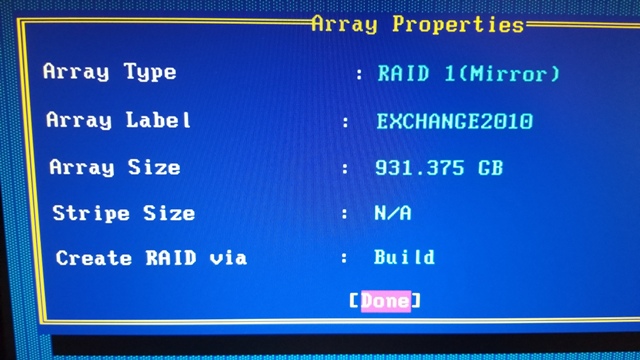
When you see “Create RAID via” you must choose “BUILD” and then press the Enter key.

Next, press the Enter key to select “Done” at the bottom of the “Array Properties” screen.
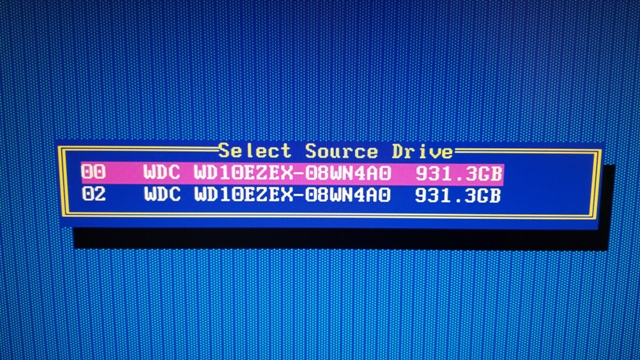
In the next screen, you will SELECT SOURCE DRIVE by choosing the hard drive showing on Port 0 and press the enter key. NOTE: The source drive is the drive containing your existing operating system and/or data. The sectors of information on the Source drive will be copied (mirrored) onto the blank target drive on the new RAID-1 Array.
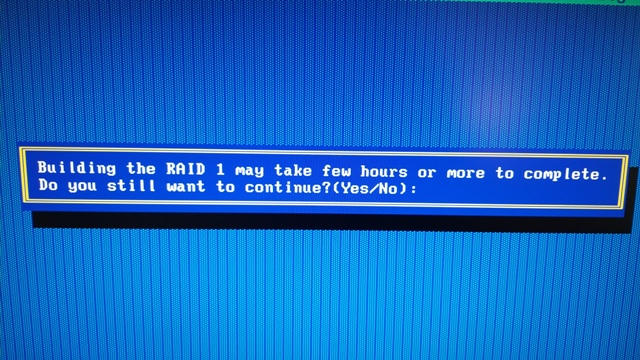
A warning message will appear that states: “Building the RAID 1 may take a few hours or more to complete. Do you still want to continue? (Yes/No):” Here, type Y for Yes to commence building the RAID-1 Array.
A progress screen will display the percentage of completion of the Array.
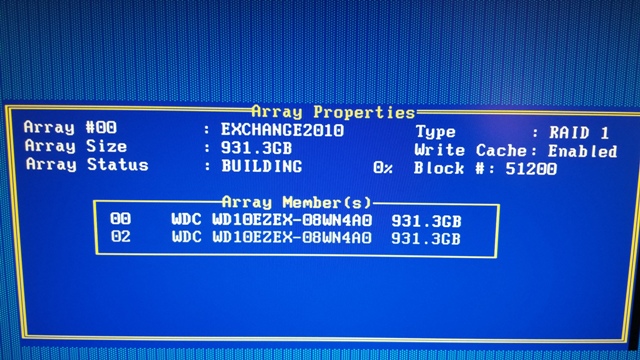
It takes a very long time for the screen to display 1% (approximately 15 minutes to build 1% of the Mirror).

It takes approximately 15 hours to build a 1TB Array. I suppose this means it will take approximately 30 hours to build a 2TB Array. I will let you know soon.
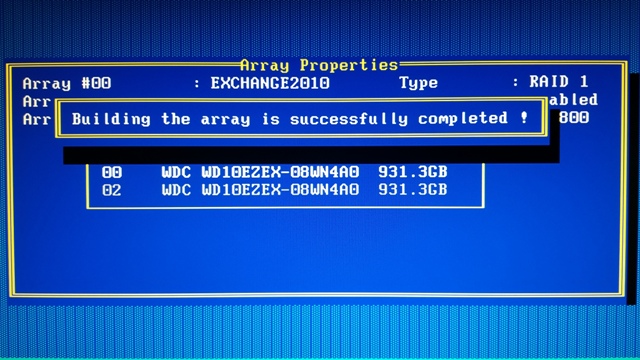
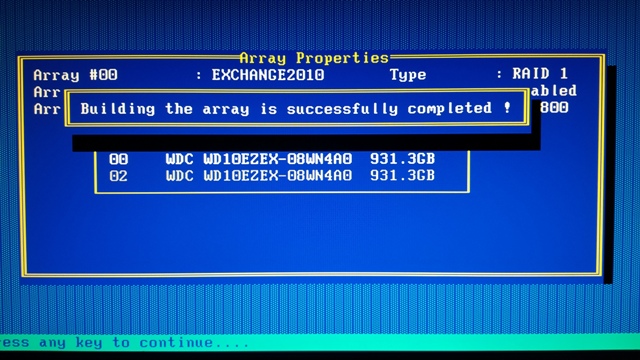
When finished at 100% build, there will be a message that appears: “Building the array is successfully completed.”
You may now press ESC, ESC to exit the Array Configuration and type Y when prompted to exit and restart or reboot the system.
Note. It is INCORRECTLY reported that after the progress screen has reached at least 1% completion, and if you have installed Adaptec Raid Storage Manager within your operating system, then you may be able to boot to the operating system and allow the Adaptec RAID Storage Manager (rather than the controller card) to finish the “build” in the background while your OS is live or your server is up and running online, and also be able to monitor the progress of your mirror “build” from within Adaptec Storage Manager program. I vaguely remember trying this, but I don’t want to say for certain that I have. This could mean that you may have the alternative to press and hold the off switch on the front of the case on your computer or server to force a hard shut down, and then restart and boot into the operating system and let the “build” continue while you may monitor the percentage completion from within Adaptec Raid Storage Manager application.
Update: 07-21-2018 — Hard booting after the progress indicator shows at least 1% Build does NOT work. It won’t boot all the way into the login screen or into the OS. It tried booting, but after 10 minutes the Windows Recovery screen comes up. Just cancel and the system will reboot. Now, you probably need to restart the build, or more aptly put–start a rebuild. On reboot, Press CTRL+A to go into the Adaptec Controller. Under Manage Arrays, press Enter to select your current Array, and you should see that the status in “Building” with no progress indicator. I could have waited about 30 hours to see if the build would complete on a 2TB drive. However, I chose to escape back to the selected Array and then pressed CTRL+R to start a Rebuild. The status will show REBUILDING and there will be a progress indicator starting at 0%. Now, I wait 30 hours and see if the Array will actually boot next time.
UNLESS YOU ABSOLUTELY NEED TO HAVE THE SERVER UP AND ONLINE, THEN I INSTEAD RECOMMEND THAT YOU LET THE CONTROLLER CARD BIOS AND CONFIGURATION UTILITY FINISH THE “BUILD” TO 100% COMPLETE BEFORE REBOOTING INTO THE OPERATING SYSTEM.
Source: Adaptec Support Knowledgebase (Link No Longer Available)